Local database
1. Choose "My companies/New local database" from menus.
2. Give the name of the company, which will be featured in the menu.
3. Choose the new company from menu "My companies", then choose menu "Connect".
4. The software will restart, connecting to the new company.
Remote database
1. Choose "My companies/New remote database" from menus.
2. Give the name of the company, which will be featured in the menu.
3. Choose the path of database, where you would like to save.
4. Choose the new company from menu "My companies", then choose menu "Connect".
5. The software will restart, connecting to the new company.
Adding existing database
1. Choose "My companies/Add existing database" from menus..
2. Give the name of the company, which will be featured in the menu.
3. Choose database file.
4. Choose the new company from menu "My companies", then choose menu "Connect".
5. The software will restart, connecting to the new company.
Saving local database to Desktop
Choose "My companies/Save local database to Desktop" from menus.
Attention! This will only save the local database. Saving and maintenancing remote databases have to
be cared by You!
Path to local database
Users/<Username>/Library/Application Support/com.6DS.BillSonar
The Library folder under Users is a hidden one. If you want to reach it, permit in the way below:
1. Run software Terminal, which can be found at /Applications/Utilities.
2. Write in -or copy out- the following order, and press button Enter after:
chflags nohidden ~/Library
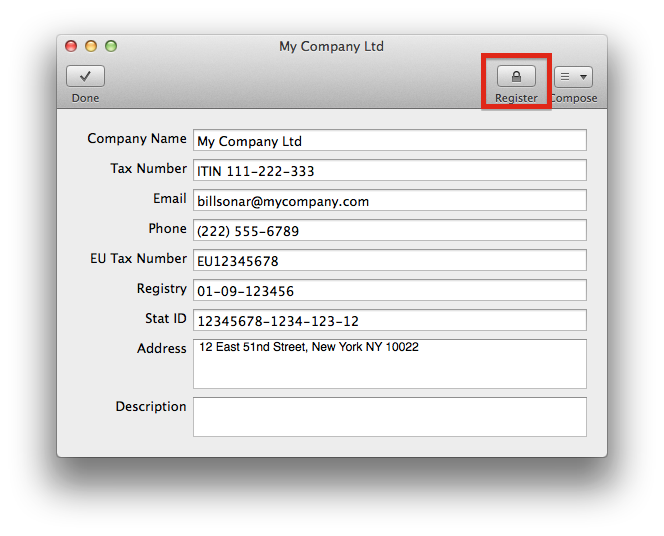
Register company
1. Choose "Settings/My company" from menus.
2. Press button "Register" on the toolbar.
With this, you activate your company for the legal utilization of BillSonar. If there is a change in
your company's data (e.g.: e-mail, phone, address, etc.), please make sure to re-register.
After purchase
If you were creating finalized invoices, you can continue your work in the used company.
Or
If you were only trying out the software with non-valid data and would like to start over, create
a new company/database and registrate it. This way, you can start real) invoicing with a new empty
database.


